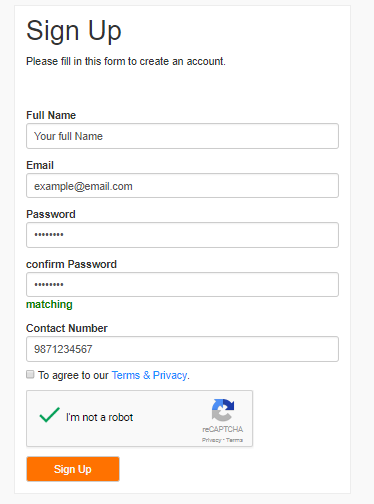
How to SignUp?

1) Step one

Go to Sign Up Page. Fill up this simple form with your name, email, password and contact number. Fill in your details. These details will not reflect in your invoices. These are for Registration purpose only.
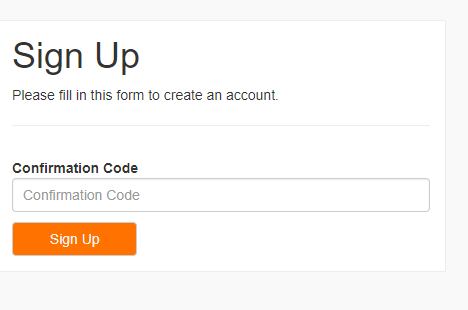
signup image

2) Step two

Enter the verification code sent to your registered email id. Please wait for some time. It usually takes 1-5 minutes to recieve verification code. After this Step you are ready to use our Services.

signup image

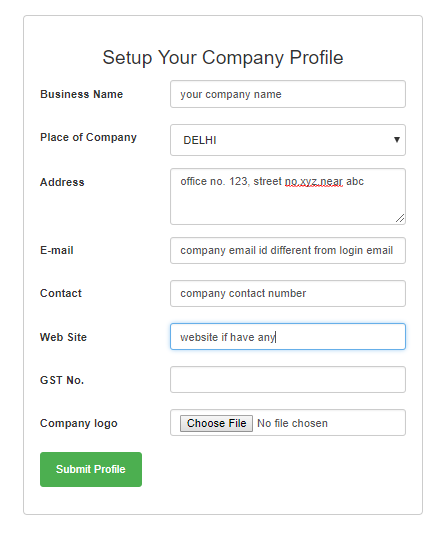
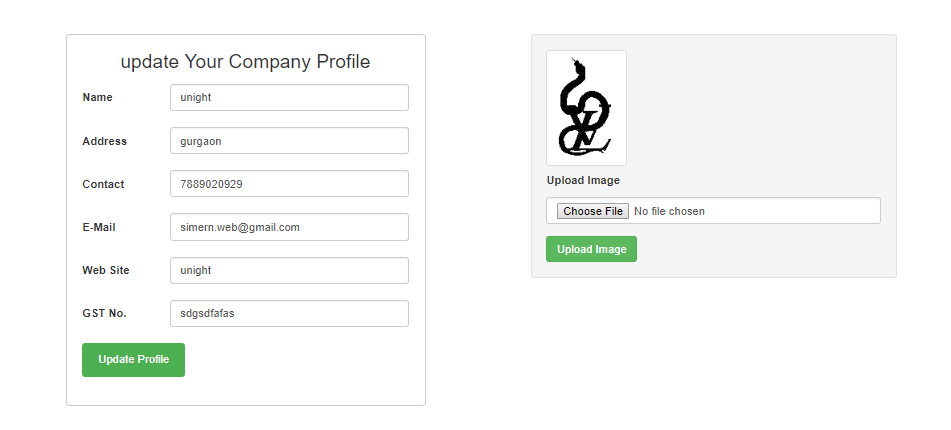
Note:After confirmation you will be redirected to Welcome page where you will set up your company profile

StepUp Company Profile

1) Step one

fill your valid Company info like Company name,Company Location,Company email, valid/Register GSTIN number and Company contact number.

signup image

How to Make Bill InVoice

1) Step one

This form comes in three Steps. In first,fill your client's details like client Name,client's Company name,place of supply,Company contactNumber, valid/Register GSTIN number and Date of bill.

signup image

2) Step two

In this Step Add product detail as much as you like. product Name can be prelisted in database under your Account.

signup image

3) Step three

Last Step just to confirm and check your filed detail is correct or need to change. Add custom footer before submit or can leave blank.

signup image

Note:- please fill the required field at least to make your bill perfect.

How to Add Product ?

1) Step one

Click the Add/Manage Product Button located at Dashboard page as you login in.

signup image

2) Step two

In this Step We show you your previous Enter Product if any. You can also Update / delete product from list under option tab. To enter in form page click Add Product button again.

signup image

3) Step three

Last Step, Fill Product Name, Price you offer with little description about product.

signup image

Note:- please fill all the field .

Fill Expense Form

1) Step one

Click the ADD Expense Button located at Dashboard page as you login in.

signup image

2) Step two

In this Step We show you Form which need to fill with shown detail like expense name / type, billno. (if any),GSTIN number and description as you like to remember about Expense as form filled completely click Submit Button. Then it will take you to Expense Table which show you all your Expenses filed previously.

signup image

3) Step three

In Expense table you can see bill according to dates by filling Search bar on the top of page. You can also show and delete Expense Table under Image / Delete TAB.

signup image

Note:- please fill all the field .

Update Company Details

1) Step one

You can change your company detail anytime you want by Clicking the user link in navigation Bar Update company profile Button.

signup image

2) Step two

You can change the value of any part of form which pre-filled with your previous detail.Then click Submit You can also change company logo by just upload new image of your choice.

signup image

Note:- please fill all the field .

How Auto GST filling System Works ?

Step one

For Enabling Auto GST filling System you need Click GST Panel Button under the Users link in navigation Bar

signup image

Step two

You need to Click Disable/Enable Auto GST button as per you service need. if you click Auto GST Enable We will file your GST Everymonth on your behalf, and the detail about your GST filed Shown below in Previous Filed GST table.But if you Disable the Auto GST Service, we will ask if you like to file your GST with our System or not.

signup image

What shown in table?
In this table we show you your Previous GST filed Record which filed with Our System. AS you can see ther is Date,Month in which GST filed FiledBy the Person who file GST for you, GST Credit Deducted From your GST Credit which shown under Auto GST. You can also Recharge your Plan from our System by just Clicking REcharge Now on the top section of page.

Update User Profile Details / Change Password

Step one

For Update User Profile you need Click update User Profile Button under the Users link in navigation Bar

signup image

Step two

Change the detail Of User as you like and Click Submit button and You Done Profile Update successfully. if any Error Occur please check you filed detail. New Password fill only if you like to change previous one. Otherwise fill current password to complete the process.

signup image

Add Employee

Step one

For Managing Employee detail like salary,offer letter,experience letter Click Manage Employee Button from Dashboard

signup image

Step two

Click again on Add employee button which shown in picture below. This will take you form for fill employee detail.

signup image

fill the form with salary detail of employee and click submit button And employee detail is submitted and shown you in redirect page after submit.

signup image

Add Paid Salary detail for Employee Record

Step one

To Add paid salary detail in your database click Salary link in same row in employee name as shown below.

signup image

After that click Add Salary paid record button on top the table.

signup image

Step two

change the detail which fill by default as the employee performance or any deduction and Bonus issued at Last Click Submit button and You Done with Adding paid salary info successfully. if any Error Occur please check you filed detail.

signup image

Step one

signup image

Step two

signup image